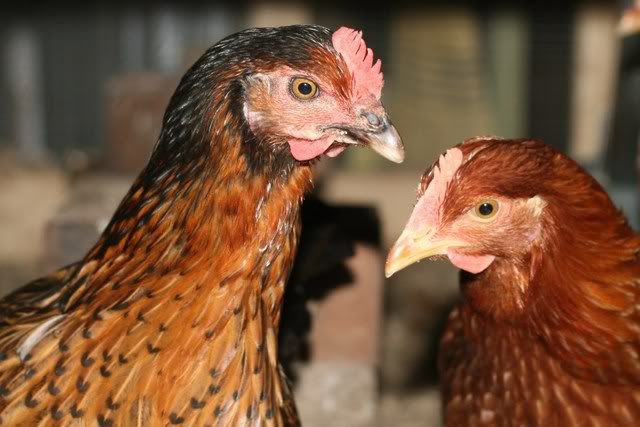
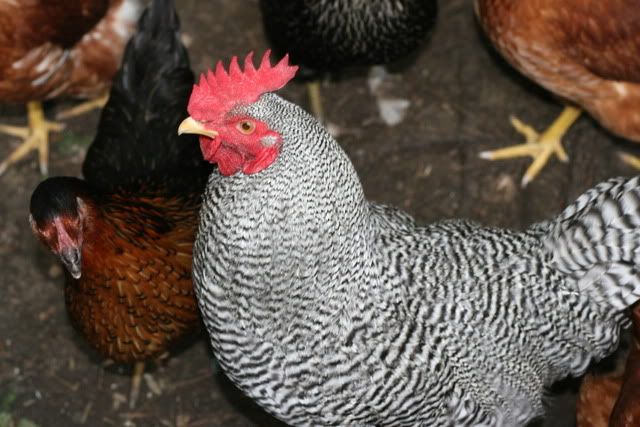
OH! I know its been a while but we have been on vacation, technically I am still on vacation but I had to share these pictures with you, my blog friends.
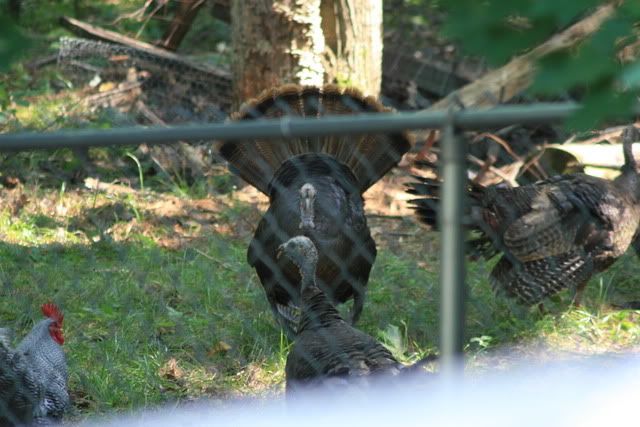
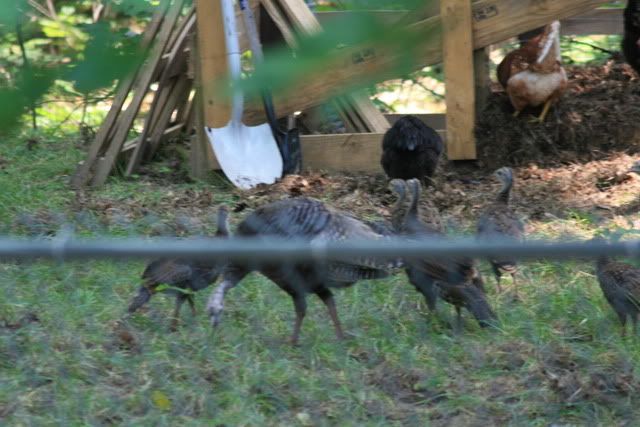
Over the last week we have been free ranging the chickens. They are LOVING life and today they found the compost pile behind our house. This afternoon they were scratching in the compost pile and I peeked out to check on them and this is what we found!!
I was surprised, Ted let them pass through, he gets all pissy over the cats and other birds in the neighborhood but with the turkeys he was like oh I dont see youuuuu lol There were about 12-15 turkeys varying in age and size.
It looks to me like one of the turkeys kind of had a problem with ted too ;)
Friday, August 21, 2009
Wednesday, August 12, 2009
Water Filtration System
Hey all, this is a nice informative post by Harry/Dave. When it comes to engineering and how things work, I have the attention span of a chicken. Dave understands this (loves me anyway) and puts together these informative posts so that I understand better!! - Lisa
The latest addition to our off-grid cabin. I’m SUPER happy that we finally have a decent water filter for the camp. This item has been on the “wish” list for a long time but for some very strange reason we just never followed through until now. In all likelihood it’s the upfront cost that makes it such a shocker, however if you think about it… You really do need clean water 24x7 and for a family of 4 you need A LOT of clean water for drinking and cooking. So, having said all that, here is our recently arrived Berkey water filter.
Some specifics about this model. First, and this is a huge advantage… it's gravity fed and does not require ANY energy to operate, simply fill the top and pour from the bottom spout.
Since I tend to always go with worst case, I ended up with the Crown model which is their largest available. *editors note: this is a nice way for him to say he over engineers things!* As it comes, out of the box with 2 filters, it should produce about 6-7 gallons per hour. It has the ability to be expanded however to 8 filters… I think the output would be somewhere in the 25 gallon per hour range… Too much for what we need currently but when all was said and done… having all that extra capacity (minus the cost of the filters) really was not that different from the smaller models. The cartridges are pretty expensive but they do have the ability to be cleaned and reused so this to was important. So, as $$$ allows, we will pick up another set or two of filters and that will either provide for many years of operation and spares OR it would provide the capacity for cleaning large amounts of water very quickly. At this time I will be leaving it disassembled so I can’t give you any real world examples of performance, but I can tell you that from the look and feel of the materials, they are all top notch and I would recommend it for anyone looking for a stationary (yet movable) water filter that is both gravity and zero energy with pretty high output.
Tuesday, August 11, 2009
A tour of S-wood!
We haven't done this in a while.. then again, we haven't done anything new up there in a while either. But I promised Linda from HERE that I would post a walk about for her. Since we didnt go anywhere except to retrieve our eaten trail camera, I thought I would stick close to the house and show you as much as I can.
I want to explain however, our Shmoopywood is VERY wooded. Like it gets dark 2 hours earlier on our lot than anywhere else kind of wooded ;) The lot was logged many years ago but they logged for pine so its all hardwood. In fact, we have the biggest birch tree D and I have ever seen!
So without further babbling from me, here is our happy place:
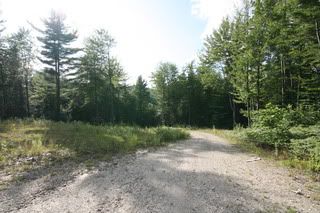
So here I am standing about 3/4 of the way up the driveway looking down towards the road. You can see that it is so steep at one point the driveway disappears! I Love it but it makes it VERY difficult to get up the driveway with 2 inches of snow on it, and it stinks to carry stuff up.
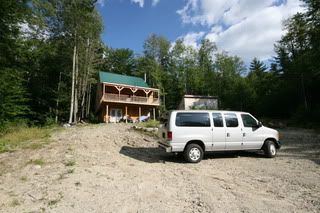
I have not moved but I have turned around towards the house so you can see how high up it is still. The Outbuilding on the right is the previous S-wood. It will someday be a coop or a goat house, I think. You can see the party van in the front, this is the best way for us to get 2 kids, 2 danes, 2 adults and all our crap to the cabin.
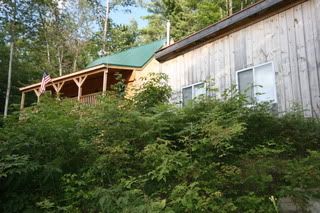
Now I am standing to the right of the "goat house" in front of what used to be grass but now it is a huge bungle (its a word) of raspberry and blackberry bushes. Our entire lot is LOADED with blackberries. I cannot wait to harvest and make them into preserves and jelly!
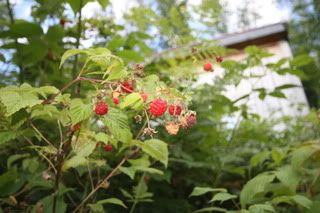
Here is the raspberries as proof
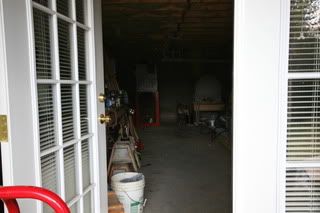
Now we are stepping inside of the basement of shmoopywood (dont mind the mess) THis is also known as man-town. We unloaded the Party van into it earlier this day so its still in a bit of disarray.
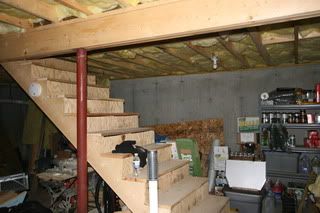
We are headed up the stairs to the main living area. On the right you can see some of our food stores, on the left we have saw ;) (remember our woodworking with Harry sessions?)
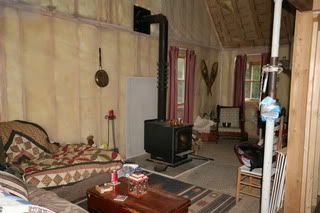
Now we have ascended the stairs and taken a slight right, and this is the living room of S-wood (no walls and all!)
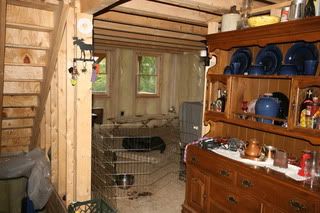
I have taken a slight left and this is the dining area as well as the 2nd bedroom (with a tiny little great dane... who knew he could get that small) THe dane is penned because the other dane was out. They are separated at all times due to aggression (another post).
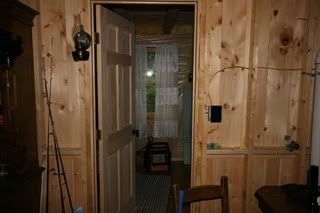
A little more to the right (you can still see the hutch) is our only walled room thus far. The royal bathroom!!
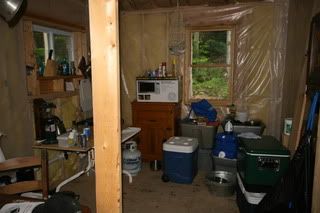
when you came up those stairs from Man town, you would be facing our kitchen.
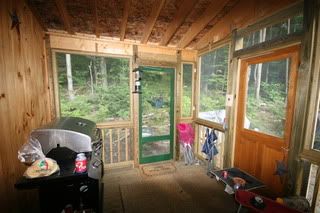
this is Girl Town - or my screened porch!
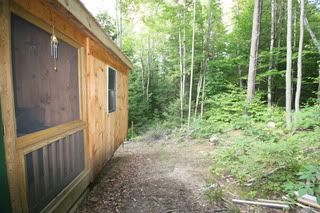
Coming out of screened porch and taking a left will lead you to the stream where we used to get ALL of our water supply for the potty and for washing.
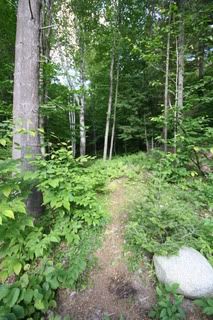
The somewhat less beaten path to the stream. Now that we have water storage in the basement we have to make less frequent trips to the stream!
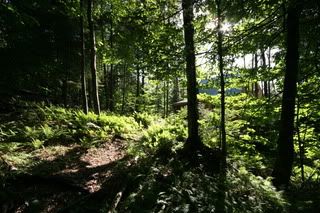
Standing at the stream looking back at shmoopywood.
And lastly... halfway across the path to the stream stands the biggest Birch tree we have ever seen.....
There are about 7 unseen acres here, but when I tell you its wooded, I mean machete and compass wooded ;)
ANd that concludes the tour :) Hope you enjoyed it!
Sunday, August 9, 2009
"smile" - Alan Funt
Remember a few weeks ago here when I explained that we had purchased a trail camera and were putting it in different places throughout S-Wood boundaries to see where the deer were? Well the last time we were up there (weeks ago) we placed the camera on a sturdy but half gone tree facing a small clearing. We chose this placement because we had seen moose prints crossing over this area.
We set out yesterday to swap memory cards in the camera so we could come back and view the card and then set out to possibly retrieve the camera. If when we got back to the cabin there were deer on the camera we were going to just leave it out there. Instead when we finally arrived at the proposed camera location, carefully coming up behind it as to not get caught on camera ourselves, it was suddenly discovered (with a few cuss words I might add) in true Dave and Lisa form, that the tree the camera had been secured to, crashed down onto the forest floor .The camera was NOT face down but sideways and full of water. So we brought the whole thing back.
I have been viewing the trail came at the cabin by plugging the card into my Nuvi (garmin) so teh screen is about 3" x 3". There were about 1500 pictures taken in the 3 weeks and we were unaware at what point the camera broke. Lo and Behold there was something on the camera in the first day the camera was set up but it was indistinguishable on the Nuvi screen.
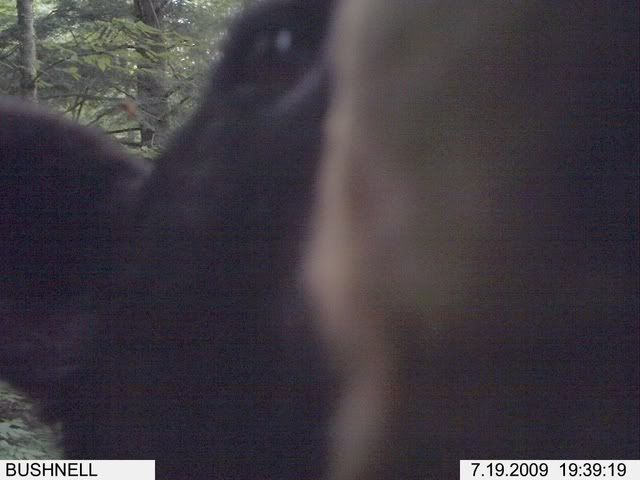
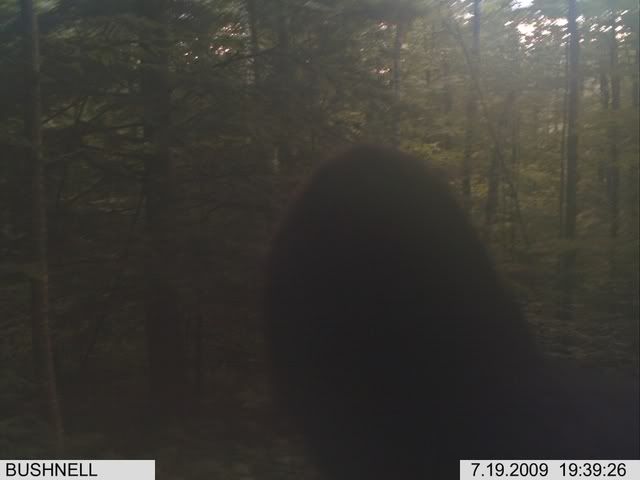
I got it home and we looked at it (for a really long time) and then I altered it a little by playing with the brightness and huzzah we both turn our heads to the left and we think we see something... We aren't sure what... then it comes to us. Not only did we get something on the camera but the something we got... was killing the camera!
LOL!! we didnt get very many pictures on our game camera because a bear ate it!! BAD BEAR!!! The other 1497 pictures were blurred out, full of water, sideways and oddly enough... pink.
sigh... that was a large amount of money down the bear. I think we will call him Lloyd.
Friday, August 7, 2009
Anticipayyyayyyshunnn
(old picture of my buff rock)
I promised myself I would be patient. I did all my research so I knew it could be a while. Yet here I sit in anticipation of what you wonder?
Of eggs my friends.
I have 10 hens and 1 Rooster. Of those 10 hens, 4 of them are about 25-30 weeks old and laying DAILY since they were 18 weeks old (got to love those black star hens). There are 6 hens however, the ones that I have raised since they were tiny little peeps and loved with all my heart... Those 6 hens (2 Buff rocks, 2 gold sex links, and 2 New Hampshire's) who are now officially 21 weeks old have not given me DIDDLY SQUAT!
Now our combs and wattles have gone from flesh colored to bright fire-engine red and still. No eggs.
I wake up in the morning and hurry out to the coop to let them out and usually give them a treat... No eggs.
Harry goes out there to get the 4 eggs we usually get before 10am... only 4, no more eggs.
I rush home from work, no eggs.
WHY ARE YOU DOING THIS TO ME? I want your eggs, your delicious 30% lower in cholesterol beautiful eggs.
sigh... so please my little lovelies... give me the eggs.... please.
Tuesday, August 4, 2009
The UPS Dude brought us the Sun!
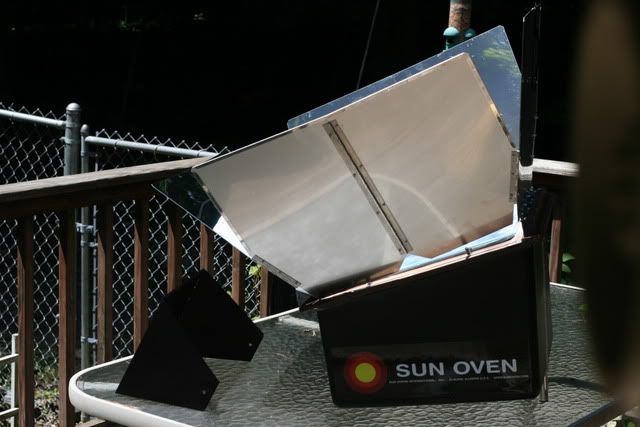
Harry and I are sometimes like little children. We think that when the UPS guy comes to the house, its full of Presents. We never really take into consideration that we have PURCHASED these items, we only get excited about their delivery to our doorstep! So yesterday the UPS guy brought us another goody! He actually brought it right into our garage without our knowing but thats not the point of my story. This time he brought us a SUN OVEN!!!
We knew the solar oven was coming because we bought it, but we were very excited about it being here regardless. While I was at work today, Harry set it up and made it operational. I was going to write a post about his first attempt but when he sent me his timeline, it was so freaking funny, I figured I would just post it as is for you to enjoy! This is quickly becoming my favorite "dave" post!
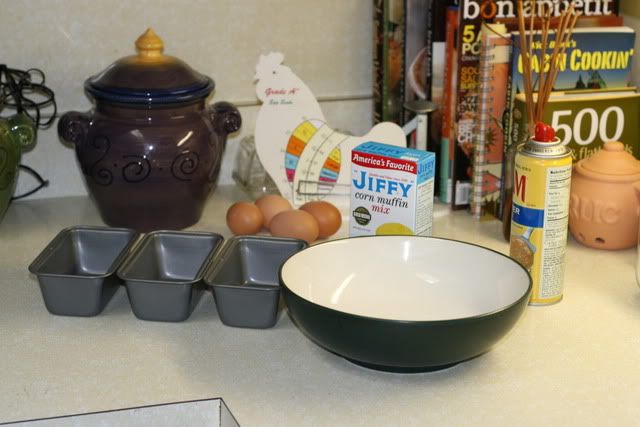
12:00noon Take lunch break from every day job as a Linux Sys admin and decide to make Corn Muffins using Nuclear Fusion.
12:03 Gather necessary items like the brand new “Sun Oven” which has previously been cured in the Sun and washed.
12:10 Begin Oven pre-heating… Outside temp 85 degrees F and Clear skies
12:20 Dawn Mad Scientist “aka Welding” goggles and check the oven temp without burning your face entirely off… 275 Degrees
12:25 Begin mixing corn Muffin components in a safe < 85F area, aka the kitchen Snap picture for documentary program
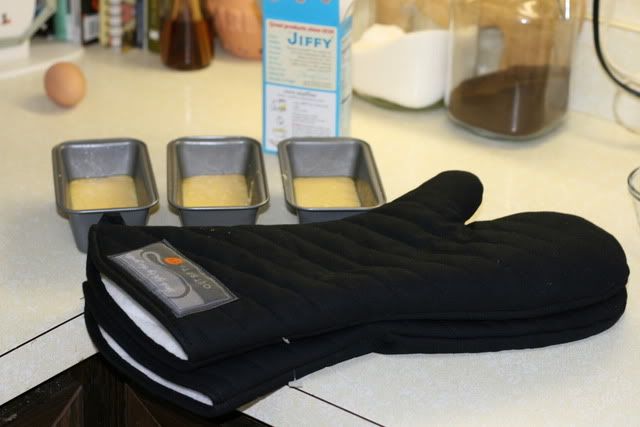
12:30 Finish Mixing batter, dawn Mad Scientist goggles and oven mitts… Snap picture for posterity sake just in case things go awry
12:30 Leave Goggles on and check oven temp… 325, not quite there yet…give it few more minutes
12:35 Check Oven temp again, no need to put the goggles on because I never took them off after the last time given their level of coolness 350F, Rock-n-roll
12:36 Snap quick picture of Plutonium gloves and batter in the pans
12:40 Insert the three small loaf pans into oven
12:41 Forgot to put the goggles back on after snapping the picture of batter, Why is everything purple?
12:42 Try that again………Loaf pans in oven @350
12:55 muffins are rising… so far so good… given the slightly lower temp than what the recipe calls for, this may take longer than the 15-20 on the box. If we were using a regular oven we would be at 400 but given the solar, we are at just under 350ish
12:15 Muffins are Done…. That’s a first for me… I’ve never made anything with a solar oven before, come to think of it, I’ve never made corn muffins before either.
Every Solar oven should come with Welding goggles….
Trying to Mix Oil and Water, Careful…that’s wicked shahp bro! (in your best possible Boston Accent)
Actually, you’ve heard me rant and rave about how the most dangerous tools are the dull ones.. Well…… I can’t go into much detail about power tools (especially circular and table saw blades) because those are sent out to be sharpened professionally, but we can talk about hand tools…. Hatchets, Axes, Saws, Chisels, Planes, Pocket Knives, Hunting Knives and Kitchen Knives… All can be brought to a razor edge with a combination of tools below.
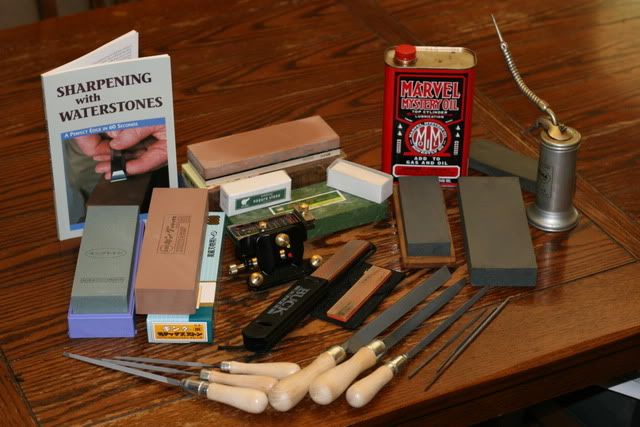
You’ll notice the pile split down the middle, Wet stones (Water) on the left and Oil on the right and some added goodies at the bottom. Most of the larger work (take the axes for example, get done with the oil stones) and the most precise work and fine edges (like plane blades, Knives, Chisels) is done with the Wet stones. Most of the reasoning for this is the grit selections that I have.
First, I’m very new to Wet/Water stones and decided a book was a good way to start… Seems very informative and I’ve already put a scalpel edge on my Kitchen knives with these Japanese stones. All are natural except the nagura stone which we’ll get to in a minute. The Japanese stones, from left to right are the blue 220 grit, followed by the first brown one that is an 800 grit. In the way back, you see a two tone stone…. This one is a 1200 and an amazing 8000… The 8000 feels like a glass and essentially polishes the edge to a mirror. This is where the small white Nagura stone comes into play… its used on the 8000 to create a milky slurry on the stone for polishing because the 8000 will not do it on its own… needs a little help. Using the wet stones is definitely a process that requires some time, for example, the stones must be submerged in water 20-30 minutes before use.. so it’s not something that you can just pickup and do… requires some planning but you will absolutely be blown away by the edge that you get. It would be difficult to imagine something getting any sharper than when you go through those stones all the way to the 8000 and you can see your reflection in the cutting edge.
Below these Wet stones is a Veritas Honing guide which I haven’t used yet but will be critical for putting that exact bevel angle on the plane blades as well as the chisels. Under the Honing guide is a set of diamond sharpeners good for keeping in the pack with the hunting/pocket knives… They are great for the field because they are small, light, have two grit choices and work perfectly on their own.
On the right hand side of the picture, you will see a selection of stones that I use most often with the oil pictured… this is great for hatchets or axes and heavy woodworking tools… Little drop of oil on the stone and you are off and running. On the very bottom of the picture is a collection of files specifically designed for sharpening saws… The largest files were used to put a new edge on the Timber saws from one of the earlier episodes J with the smallest being used for standard saws of various teeth counts. On the far right are round files used specifically for chain saw blades. I’m sure electric sharpeners work great but you will not always have power in the location where you are cutting wood, so learning by hand is the fail-safe way of keeping your chainsaw running safely.
Unfortunately this brings us to the end of the “Woodworking with Harry” series unless someone has an idea… Not sure If I have a specific tool that you are interested in but I may, so please ask and I’d be more than happy to share.
Sunday, August 2, 2009
Proof of Life
The sun has actually come out the last few days here at shmoopywood south. Not today mind you, but the 5 previous days it was mostly sunny with just enough rain to keep my bike in the garage! This has enabled things to bloom here. In fact, I actually saw a bumble bee yesterday helping me pollinate the cucumbers.
I am usually full of jokes, but today I want to talk about what is bothering me. You see, I am fearful because I have not yet seen some pretty important species... Starting with, honeybees... do you realize I have yet to see a honeybee this year???? Not A SINGLE ONE. To make it even scarier, I can count on ONE HAND how many bats I have seen here. There is a bat decline here in New England and to be honest with you these things are really starting to scare me. You can read about our bat population here . Anyway, I am hoping the weather changing for the better is going to help bring things along. I know that we are very behind with our garden due to the weather but it seems pretty universal across the board. What kinds of shortages are you all seeing? Have you seen ladybugs? Honeybees? bats? Tell me!
Harry(Dave) has been working on a post and we hope to have that up here in the next day or 2 so look for that.
The critters here at S-wood South are all thriving as well. Here are some pictures in case you were worried about them!
Thats Marge and Pearl! (you remember pearl right? )
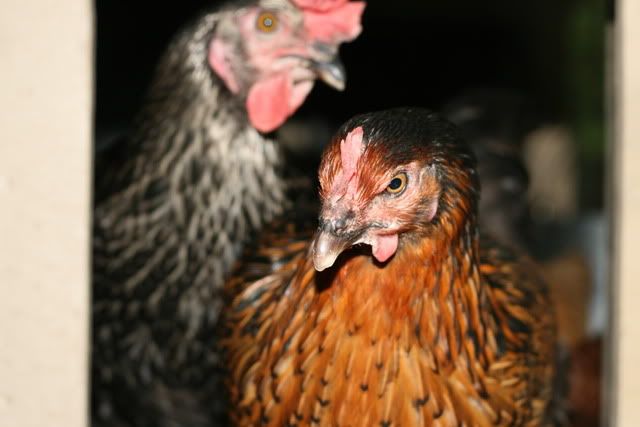
This is Marge and Myopic Chicken
There is Uncle Ted (Nugent) he is the master of the universe.
So although this is not much for content, it is a show of faith that we are here. Reading you and coming up with more fun things to tell you!
Subscribe to:
Posts (Atom)